musl Scripted Installer
Some Linux distributions (including Alpine) use the musl C standard library: 🌐 musl.
Storj’s Object Mount musl scripted installer (a .run file) is compatible with all such Linux distributions.
This installer shell script allows you to install Object Mount (for the current user) without needing root privileges — no sudo required.
Optional: Package Installer
If you prefer a full installer for use with package managers (i.e.: Alpine, etc.) refer to the Alpine installation instructions.
Follow the steps below to install and configure Object Mount for musl platforms.
libgcc Dependency
The musl Scripted Installer instructions below assume you have the libgcc package installed (due to a dependency on libgcc_s.so).
If necessary, run the following command on your Alpine distro to add the libgcc package (may require sudo):
Step 1. Download the Install Script
Download the latest scripted installer.
Note: If you do not have a download link, reach out to your 🌐 Storj Representative.
Note: Although the Object Mount
muslscripted installer file is namedcuno-mne-amd64-musl-installer.run, it is designed to run on both AMD64 and Intel x86_64 processors (although not ARM-based CPUs).
Step 2. Install & Activate Object Mount
- Note: If you do not yet have a license key, you can install Object Mount for Linux in a fully-featured Free Trial mode. Reach out to your 🌐 Storj Representative for more details.
2a. To install Object Mount for use only by the current user, run the following command from a terminal window:
2b. To install Object Mount to be used by all users system-wide, add sudo to the front of the command:
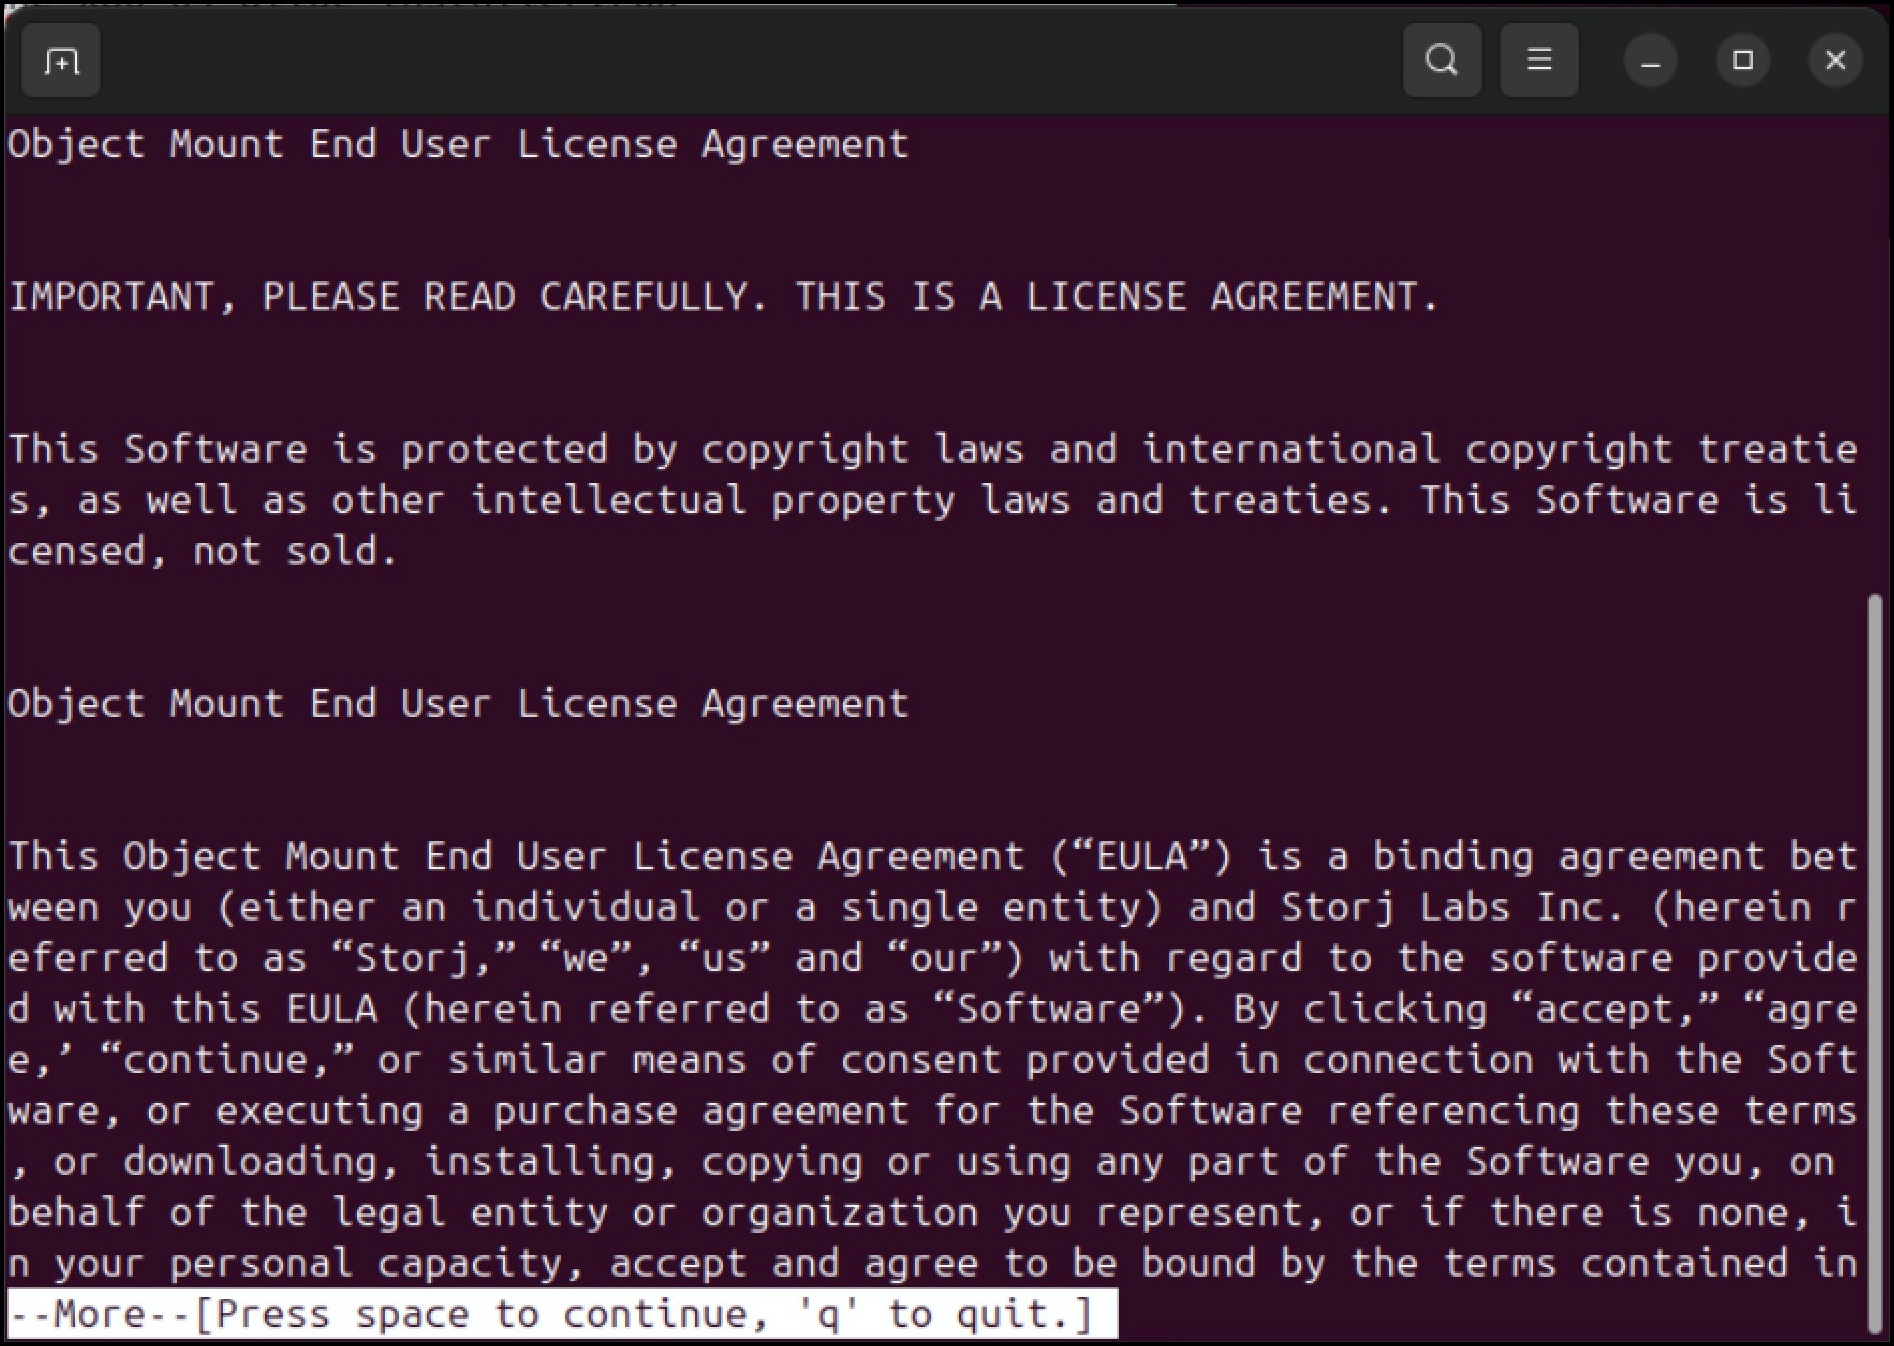
2c. The installation process will prompt you to read and agree to the Object Mount end-user license agreement (EULA).
- Note: You can automate this step by setting the environment variable
CUNO_INSTALL_ACCEPT_EULA="yes". (This is equivalent to accepting the EULA).
2d. The installation process will then prompt you to activate Object Mount.
- Press 1 to activate a free trial:
- This will activate a fully-featured 14-day free trial.
- Press 2 if you already have a license key:
- Paste your license key or enter a full path to a license key file.

- Note: You can automate this step by setting the environment variable
CUNO_INSTALL_LICENSEto one oftrial | none | <your license key> | <full path to your license key file>.
Installation Locations: Scripted Installers
When Object Mount is installed via a Scripted Installer (e.g.: glibc or musl), components are installed to different locations depending on whether it was installed by a root, or by a non-root user.
| Install Method | Location (CUNO_ROOT) | Symlinks created in |
|---|---|---|
| Non-Root User | ~/.local/opt/cuno/ | ~/.local/bin/ |
~/.local/lib/x86_64-linux-gnu | ||
~/.local/share/man/ | ||
Root User (sudo) | /opt/cuno/ | /usr/bin/ |
/usr/lib/ | ||
/usr/share/man/ |
Next Steps
Once Object Mount is installed, proceed to the Linux User Guide article: Validate Functionality & Access Object Storage to ensure you can access both public and private Object Storage buckets.